


|
|
|
|
How to replace a Line6 Flextone II BatteryI have a Line6 Flextone II amp that I really love. Recently I lost my memory settings and had to replace the battery. I checked the Line6 forums with little success, so I did the job myself. Not sure how this applies to other Line6 battery changes, but I would suspect it is similar... This exercise is specific to the Flextone II battery change Below is how to replace a Line6 Flextone II battery. While the job is straight forward and very easy if you have used a soldering iron before, please use your own judgment if you are capable to complete the job properly. When in doubt, take your amp to a professional. The information below is provided "as is" and you accept full responsibility if you screw up your amp. Also, be very careful around electricity. There is a huge transformer in this thing and it may retain a dangerous amount of electricity even though the amp is unplugged. Use extreme caution when working around it ( we don't touch it in this exercise, but it is right next to us nonetheless) even though you have previously unplugged your amp (If you plugged in your soldering iron before unplugging your amp, put the soldering iron down and find a professional)
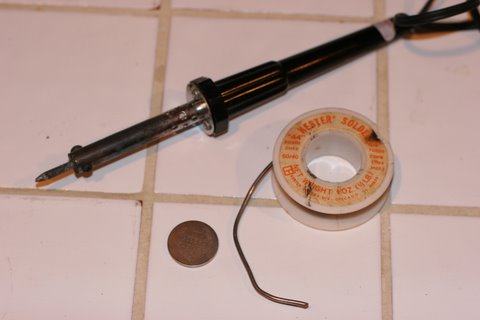
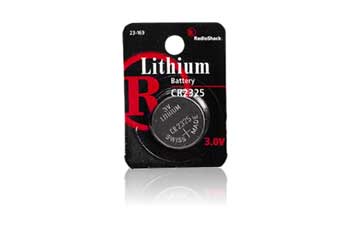
Your Friends: Soldering iron, solder and new battery. I have had that same spool of solder since the mid-80's. That says a lot about my soldering skills (I don't trust them! ;) The 3v lithium battery is soldered to the circuit board. Line6 recommends the CR2430, although my amp had a CR2325 and that is what I swapped it out with. The battery itself is easy enough to find at your local Radio Shack or other electronic parts store, part BR 2325 (or CR2325). Mine cost $4.99 plus tax.
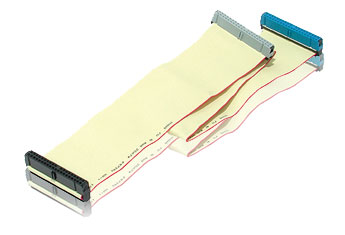
I had to whip out my cordless screwdriver and take out the 4 screws from the top holding the control unit in the combo, and I also disconnected the speakers. Laying the combo face down on some carpet made this very easy. Finally, I unscrewed the carrying handle and the electronics unit lifted right out. Easy as pie. I then took off the black cover and removed the nuts securing the speaker jacks. Once I removed the screws, the cover lifted right off the main component, and the circuitry was exposed. There is a ribbon cable like what you see in computers that has to be disconnected from the main circuit board as well. Use caution here as you do not want to rip the cable. Gently pry the base of the cable (male part) from the connector on the circuit board. AGAIN, be careful not to pull the ribbon cable from it's intended base piece. Make sure to note which side the red stripe goes into. Mine was on the right. Here is what a generic ribbon cable looks like, although the line 6 is a little smaller:
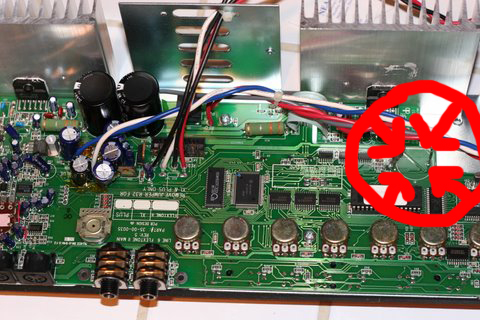
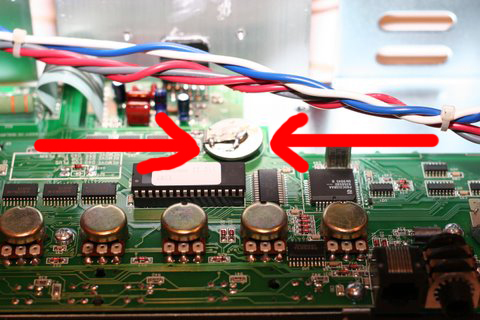
Notice how the ribbon cable ends with a plastic harness type piece. This connects into a connector on the circuit board. Now you are ready to work! Locate the coin-style battery. Mine was near the right hand side of the circuit board in a big circle that was silk screened on the circuit board.
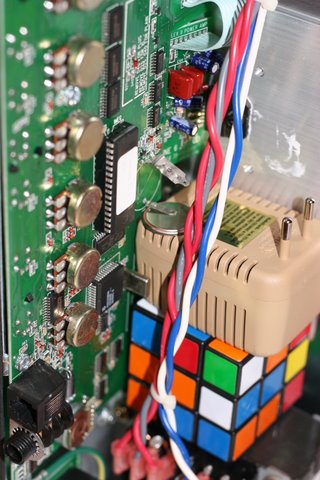
Again, being careful, you need to break the battery free from the existing solder. Fire up your soldering iron and gently hold it on the top bracket that is holding the battery. Then use a very small flat tool, such as an eye glass screw driver, to lift the bracket from the battery a bit. Gently flip the battery up (it is still attached to another bracket underneath), and do the same thing. The battery should drop off once heated and the solder breaks. Now, turn the entire electronic component on its end, with the power supply at the base. Then put on your creative hat and find something to act as a lift for the battery so you can have the new battery sit on it as you solder. I happened to use a Rubik's Cube and a power converter from a recent trip to London. Together, they were the perfect height to hold my new battery in place so my hands could be free to solder!
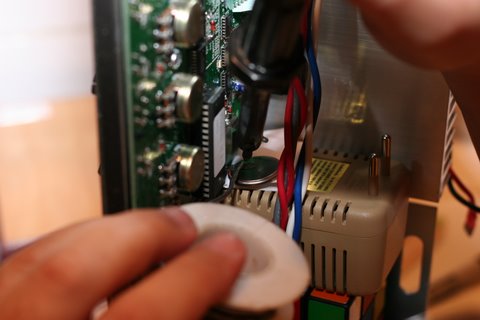
With the bottom of the battery facing up, I gently maneuvered the bottom bracket to lay flat on the battery. Make sure the battery is all the way against the circuit board as you will need to fold this back into place once the bottom is soldered, and you will need to make sure you have clearance for folding back into position within the top bracket. You will know if you did not do this right as the battery will not sit correctly. Just redo it if at first it was off (I speak from experience). Keep in mind that you do not want to apply excessive heat to any component as this could burn out circuitry. Work precisely and do not just leave the soldering iron sitting in one spot as you watch the solder bubbling around. Letting too much heat get to any component, battery included, could be dangerous and cause significant damage to you or your amp!
A little glob will do you. Let cool for about a minute. Lay the entire electronic component flat like when you started, then gently fold the batter down into position. Now fold the top bracket on top of the battery, and solder a little dab to secure the top.
Ta da!!! That's it! Put everything back together, and try a few quick setting changes and saves to make sure everything is working. Once you are convinced everything is in working order, reset your settings and pat yourself on the back for a job well done!
Disclaimer: I am not responsible if you screw up your amp or blowup yourself or your home. The info is offered "as is". No warranty is expressed, implied or available in any manner. When in doubt, locate an authorized service center. |
|
All Content copyright 2000-2010, 2011 by George Mangos. Use of any content including articles or media or parts of is strictly prohibited. |